“Toss out the old to make room for the new.” It’s the mantra of spring cleaning, and it can apply to our professional spaces in addition to our homes. After all, the average American full-time worker spends 42.5 hours on the job each week.
If you’re reading this post, many of those hours are likely spent in Slack. So, how can you make your Slack workspace a cleaner, more organized place to get the job done? We’ve assembled a six-item spring cleaning checklist for doing just that.
1. Archive inactive channels
While there’s no such thing as “too many” channels, there are channels that may no longer be valuable to your team.
Review your channels and note any that are for completed projects. If you still have channels named #2017-offsite or #q2-goals-2018—and you were either the project lead or deeply involved—go ahead and archive them. The contents will remain searchable for members (or if it’s a public channel, for everyone).
Every member of a channel will get a message from Slackbot when you close the channel, so for channels with a large membership, we encourage leaving one last closing message, explaining why.

2. Mute channels you seldom use—but still need
Muting is great for channels you need periodically, such as channels filled with machine-generated updates, or busy utility channels that often begin with a #help prefix. For example, you might post in a #suggestions or #feature-requests channel once every six months, but you’re probably not interested in reading them every day, making them great candidates for the mute feature in Slack.
When a channel is muted, it will gray-out on your sidebar and fall to the bottom of your channel lists. You’ll get notifications if someone @mentions you, but otherwise those channels will no longer show up as bold. When you mute private invite-only channels, you’ll remain a member and have the ability to check them in the future, but those channels will still recede into the background for you.
3. Don’t stress over leaving a channel
When an organization has many public channels, there should be no stigma attached to joining or leaving channels as necessary.

Look at the names of each channel in your sidebar and ask yourself:
- Are you still a part of the same working groups or teams?
- Do you really need to know about new messages on projects you’ve left behind?
- For social channels, are you still interested in the topics?
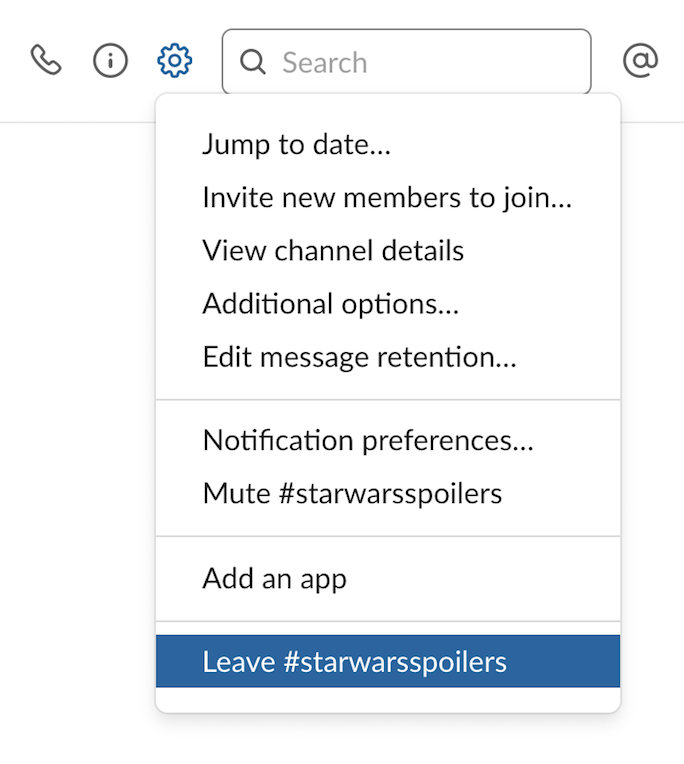
Channel your inner Marie Kondo and ask yourself whether the channel brings you joy… or needed information. If not, then type /leave or tap the channel options and click leave.
4. Keep purpose and pins up to date
Check the channel purpose and topic and pinned messages and files for your larger, most active channels.
Every channel’s purpose should clearly communicate why the channel exists and what types of conversations normally take place there. Same goes for channel topics, which should be as descriptive as possible and include upcoming deadlines.
Pinned items are frequently important documents or messages useful for projects. But those projects may have been completed months ago. Don’t hesitate to remove pins that are outdated.
5. Turn group chats into channels
If you have groups of people you regularly talk to, consider converting the conversations to a new private channel using the built-in menu option for it. Better yet, if the conversations are work-related and about non-sensitive matters, create a new public channel and invite all the participants to continue their discussions there instead.

6. Organize your channel sidebar
Your sidebar in Slack offers a few ways to order your channels and direct messages. Be sure to star channels and people you talk to most often.
If you’re already using starred channels, part of your spring cleaning list should be double-checking your starred list. Do you still open all your starred channels often? For the people on your starred list, are they people you converse with daily? If not, cut down your starred list and keep only the most important channels and people within easy reach.
Unlike a deep cleaning of your home, these maintenance tasks for Slack can be completed in just minutes. Ready to get started? Use our checklist below.


